Creating a Jelly Bean Easter Arrangement
Jelly Bean Floral Arrangement… Easy as 1.2.3
HELLO SWEET FRIENDS!!
Easter is just around the corner. We are all looking for fun ideas to create some festive touches around the house. I have been wanting to try this layered Jelly Bean arrangement for years. I received some amazing florals from my friends at Petal Driven and decided to give it a try!!
SO LET’S GET STARTED:
WHAT YOU WILL NEED FOR THIS ARRANGEMENT (To View A Video Tutorial Click Here):
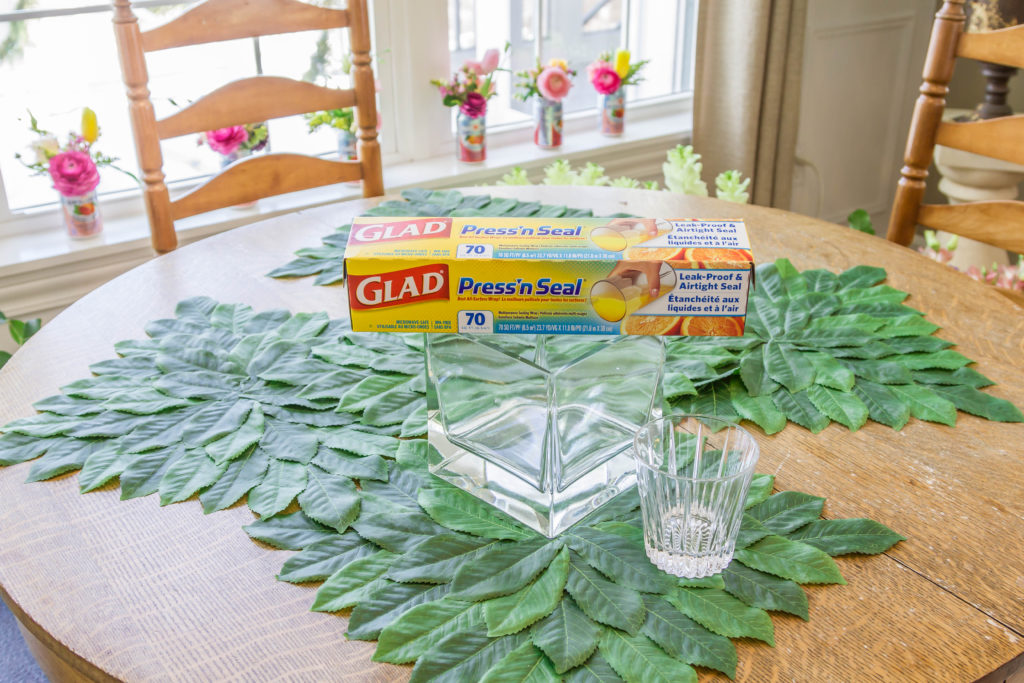
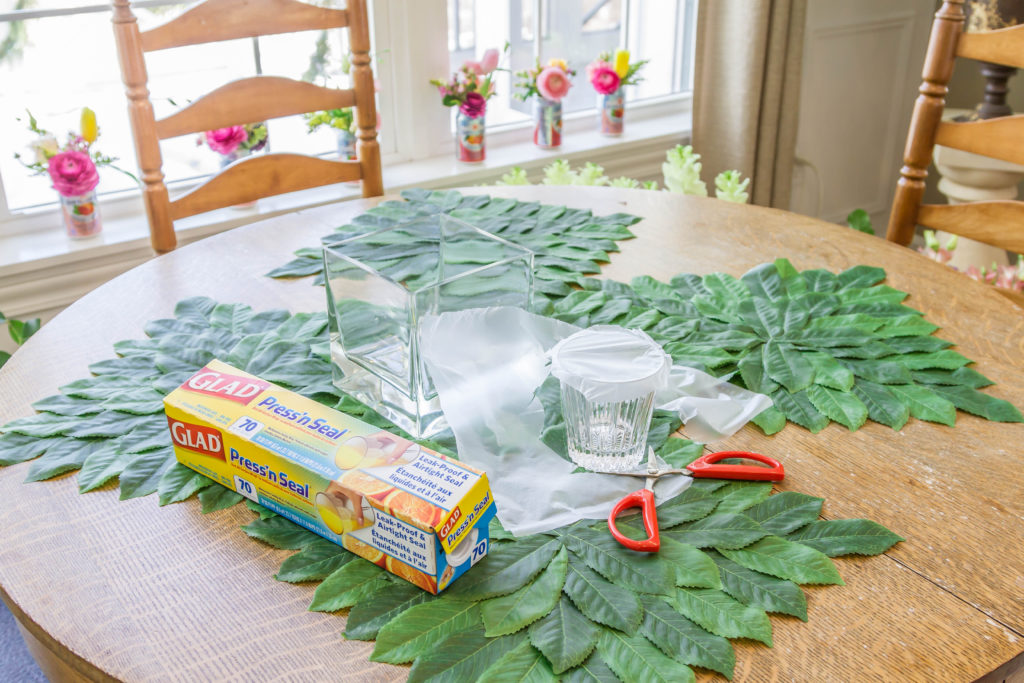
- Square or round glass vase
- A smaller vase that will fit inside the larger vase (I used a small drinking glass). Make sure there is a gap between the two vases for the jelly beans to fit.
- Glad Press’n Seal
- Scissors
- Jelly beans (4 different colors that compliment your flowers)
- Water (in a pitcher easy to pour)
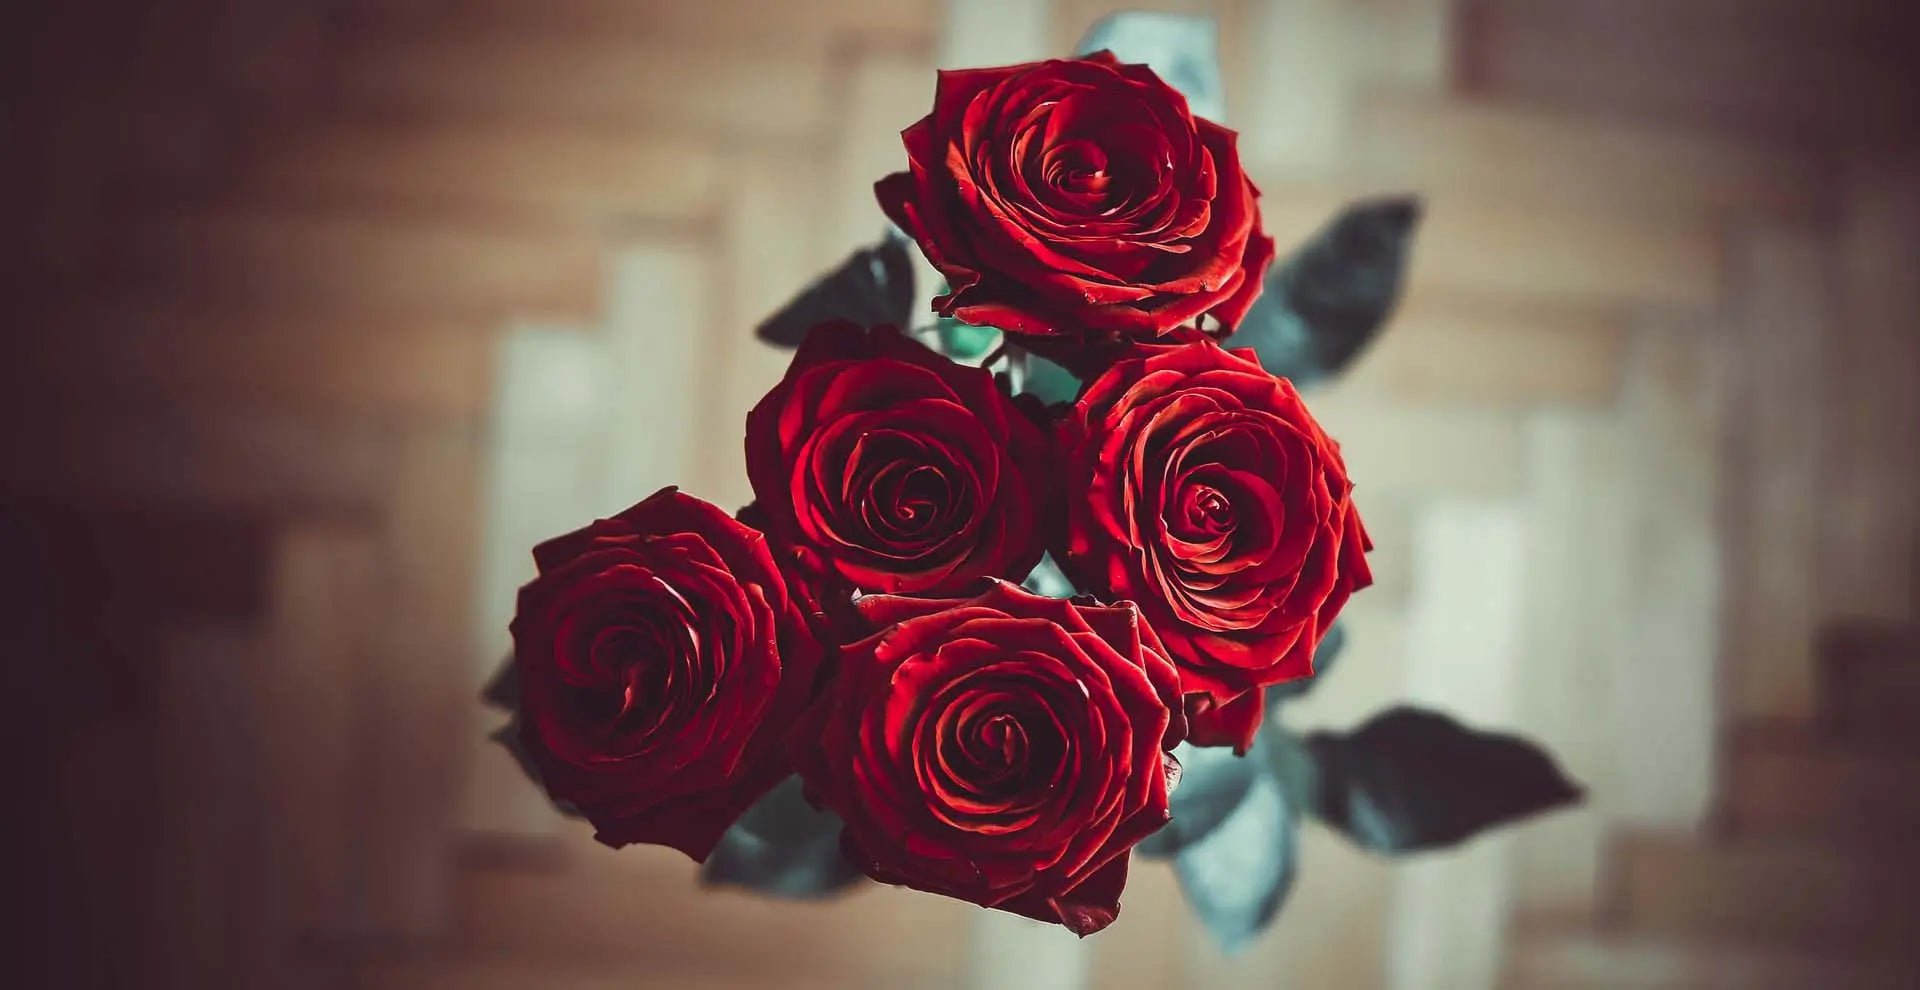
- Flowers (I used Ranunculus, pastel Tulips, Solidago, Lisianthus, Waxflowers and Hypericum )

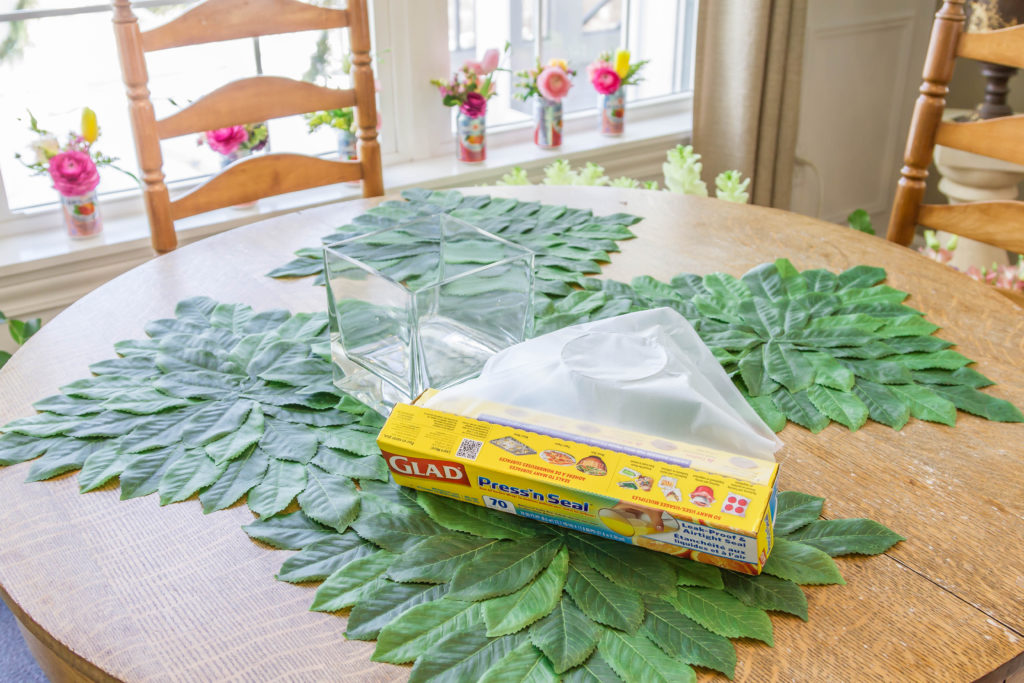
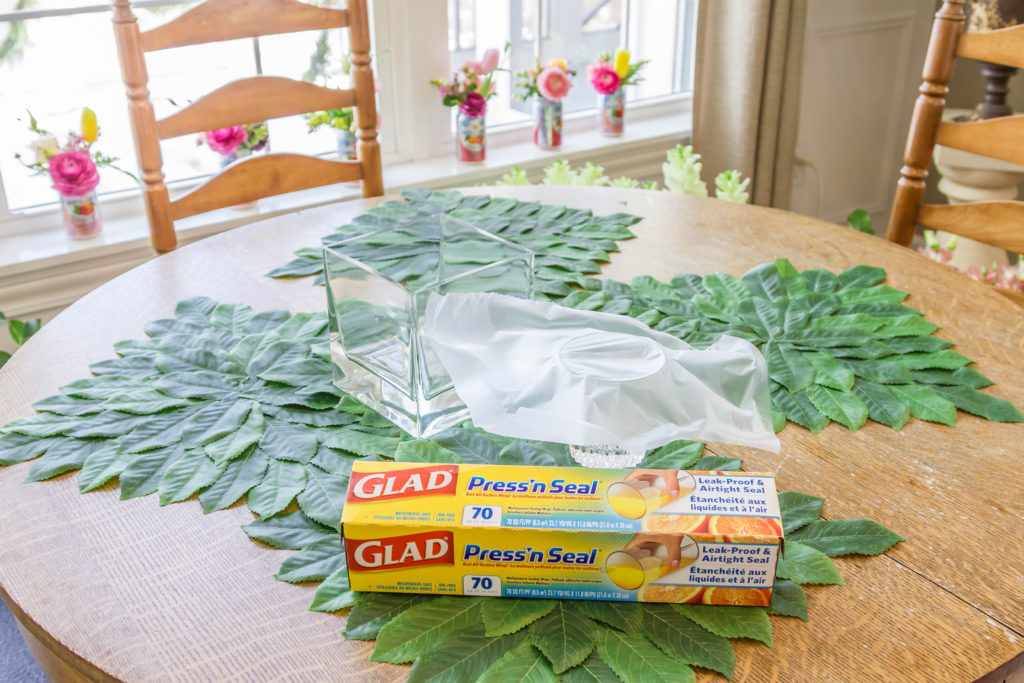
FIRST…
You want to seal the top of your vase with the Press’n Seal. Then cut off any access leaving a small amount at the top.


NEXT…
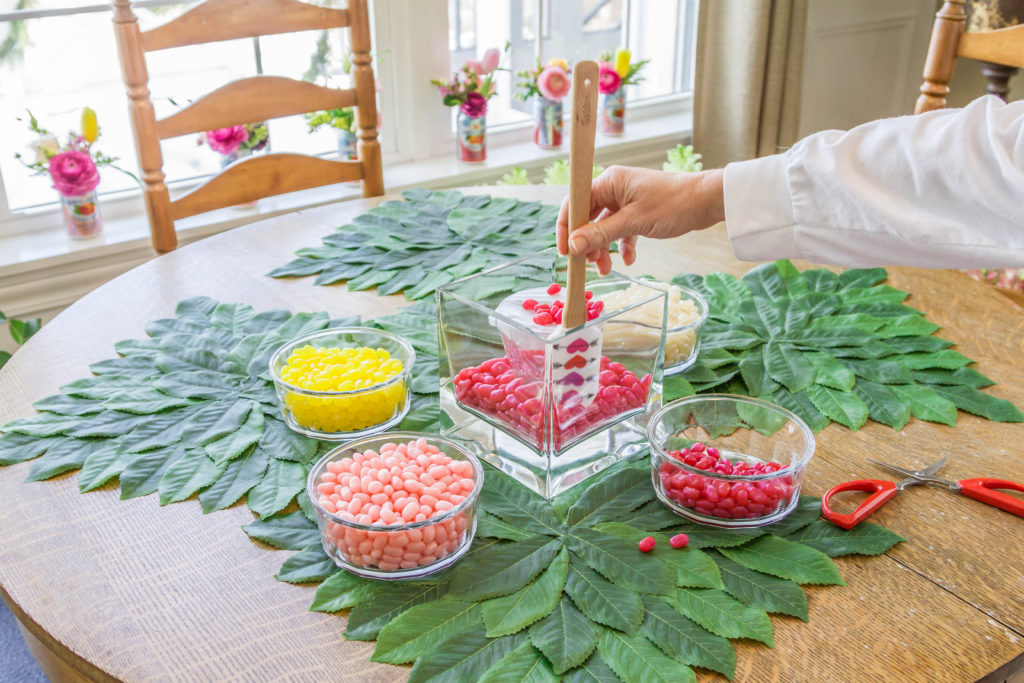
Place the smaller vase into the center of the larger vase.

NOW FOR SOME FUN!!
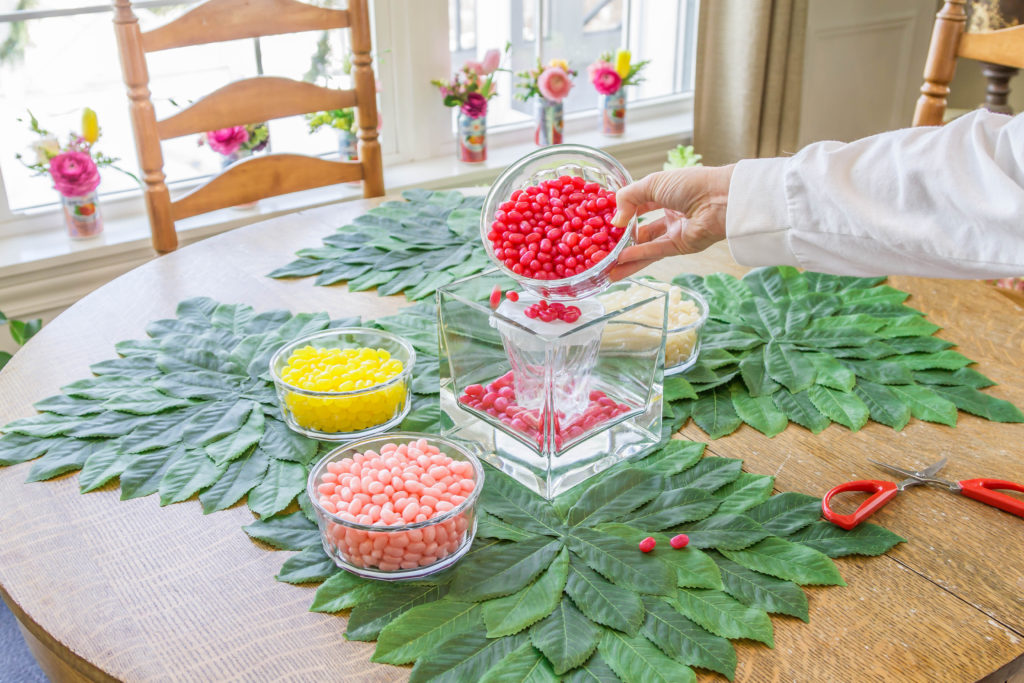
Add your jelly beans!! I used Jelly Belly Jewel Valentine Mix Jelly Beans (2 LB) and Jelly Belly Sunkist Lemon. I got both on Amazon Prime. They came within 2 days (see the links below). Make sure you get the jeweled Jelly Bellies, they have a sparkly finish that makes them glitter like a jewel! I separated the Valentine mix into separate bowls.

NOW WE ARE READY TO START LAYERING…
I tried to contrast the colors of the Jelly Bellies between bold and light. Starting with the bright pink Jelly Bellies (Very Berry)


THEN…
I moved onto the white Jelly Bellies (which is yummy Cream Soda ?)

Pack down the Jelly Bellies again and smooth out into a nice straight line…

NEXT…
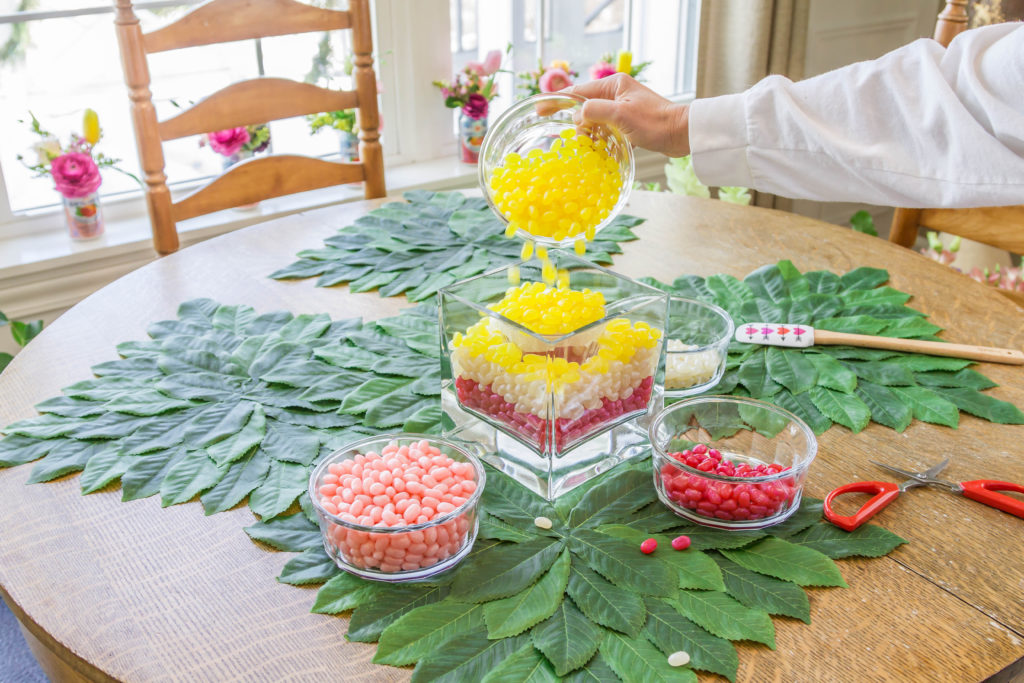
is the Sunkist Lemon Jelly Belly… and at this point, if you are needing a pick me up. It’s a good time for a Jelly Belly snack!!?

FINALLY…
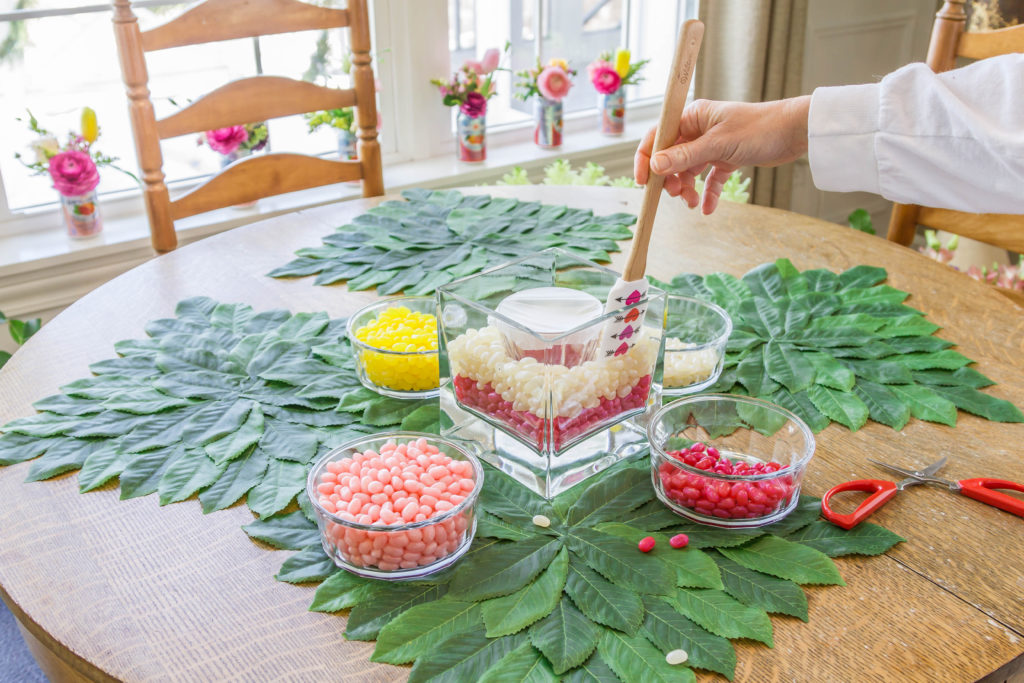
the light pink Jelly Bellies (Bubble Gum).

Jelly Bean Floral Arrangement… Easy as 1.2.3
HELLO SWEET FRIENDS!!
Easter is just around the corner. We are all looking for fun ideas to create some festive touches around the house. I have been wanting to try this layered Jelly Bean arrangement for years. I received some amazing florals from my friends at Petal Driven and decided to give it a try!!
SO LET’S GET STARTED:
WHAT YOU WILL NEED FOR THIS ARRANGEMENT (To View A Video Tutorial Click Here):
- Square or round glass vase
- A smaller vase that will fit inside the larger vase (I used a small drinking glass). Make sure there is a gap between the two vases for the jelly beans to fit.
- Glad Press’n Seal
- Scissors
- Jelly beans (4 different colors that compliment your flowers)
- Water (in a pitcher easy to pour)
- Flowers (I used Ranunculus, pastel Tulips, Solidago, Lisianthus, Waxflowers and Hypericum )
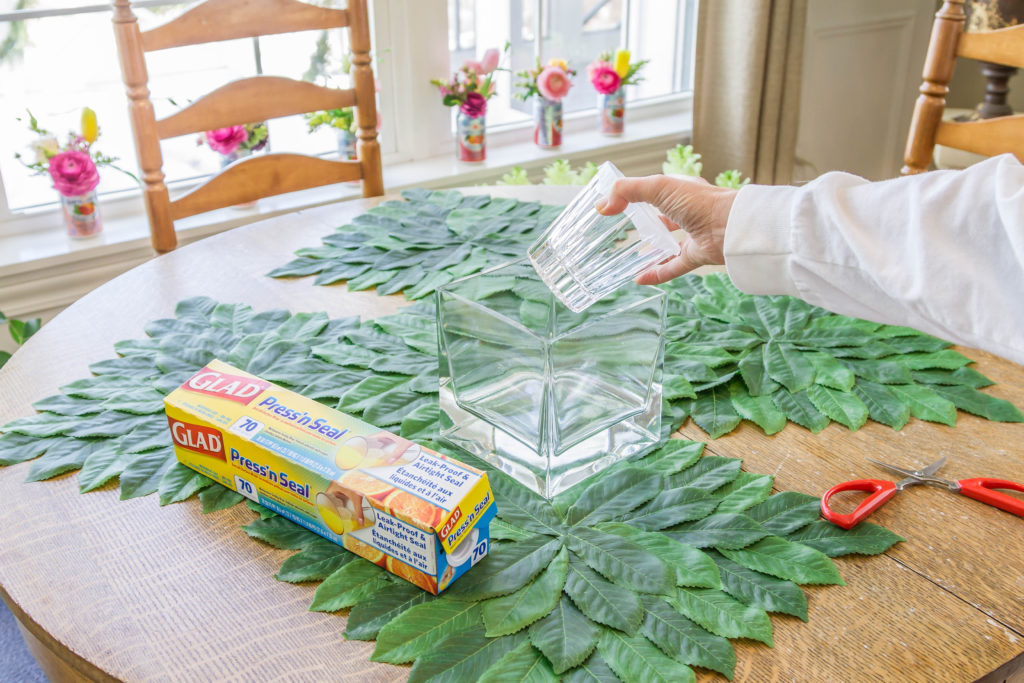
FIRST…
You want to seal the top of your vase with the Press’n Seal. Then cut off any access leaving a small amount at the top.
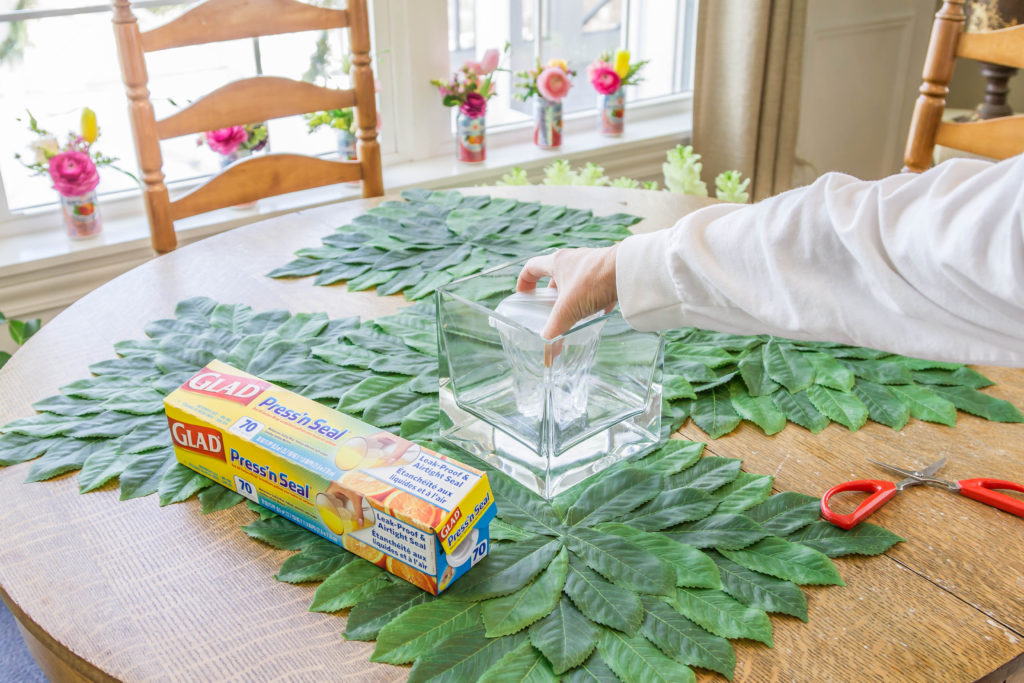
NEXT…
Place the smaller vase into the center of the larger vase.
NOW FOR SOME FUN!!
Add your jelly beans!! I used Jelly Belly Jewel Valentine Mix Jelly Beans (2 LB) and Jelly Belly Sunkist Lemon. I got both on Amazon Prime. They came within 2 days (see the links below). Make sure you get the jeweled Jelly Bellies, they have a sparkly finish that makes them glitter like a jewel! I separated the Valentine mix into separate bowls.
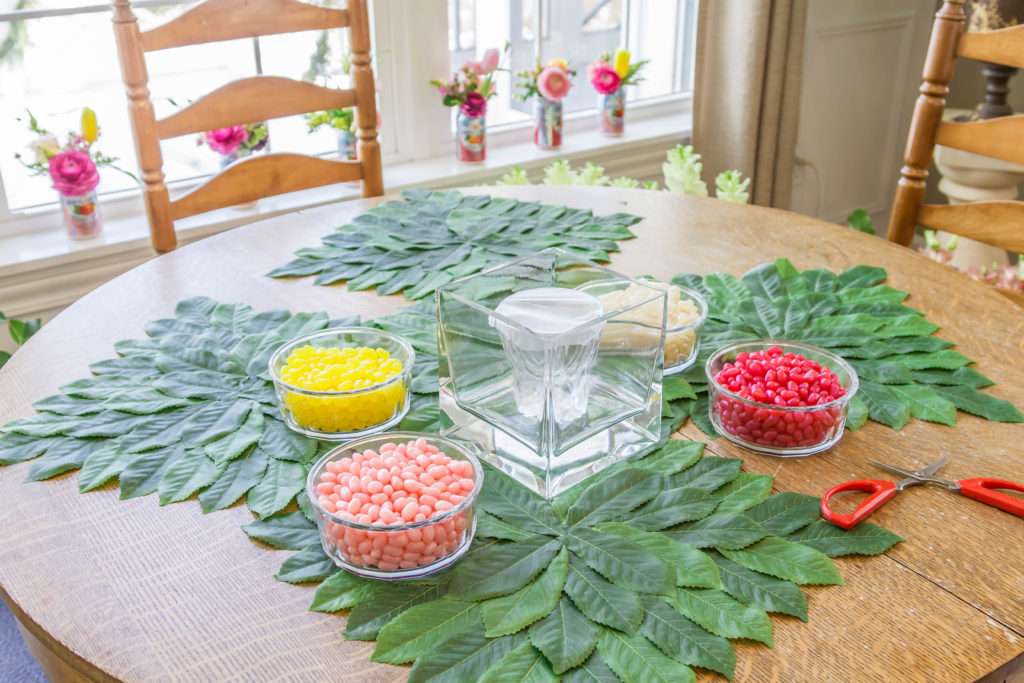
NOW WE ARE READY TO START LAYERING…
I tried to contrast the colors of the Jelly Bellies between bold and light. Starting with the bright pink Jelly Bellies (Very Berry)
Make sure to tap down the Jelly Bellies with each layer to get them all nice and in a tidy line in your vase.
THEN…
I moved onto the white Jelly Bellies (which is yummy Cream Soda ?)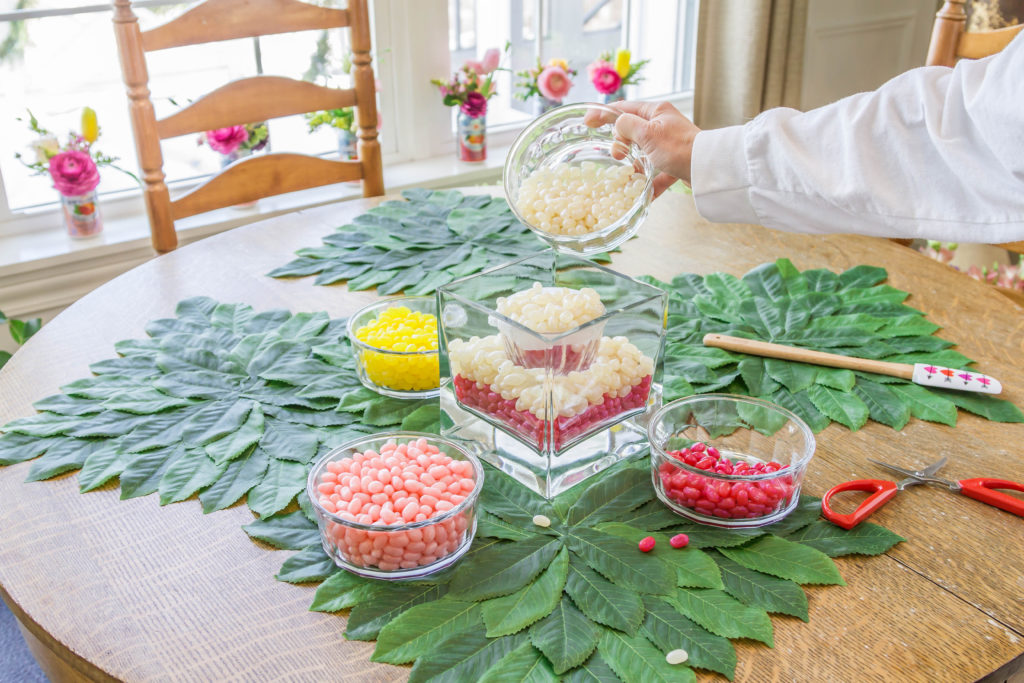
Pack down the Jelly Bellies again and smooth out into a nice straight line…
NEXT…
is the Sunkist Lemon Jelly Belly… and at this point, if you are needing a pick me up. It’s a good time for a Jelly Belly snack!!?
FINALLY…
the light pink Jelly Bellies (Bubble Gum).
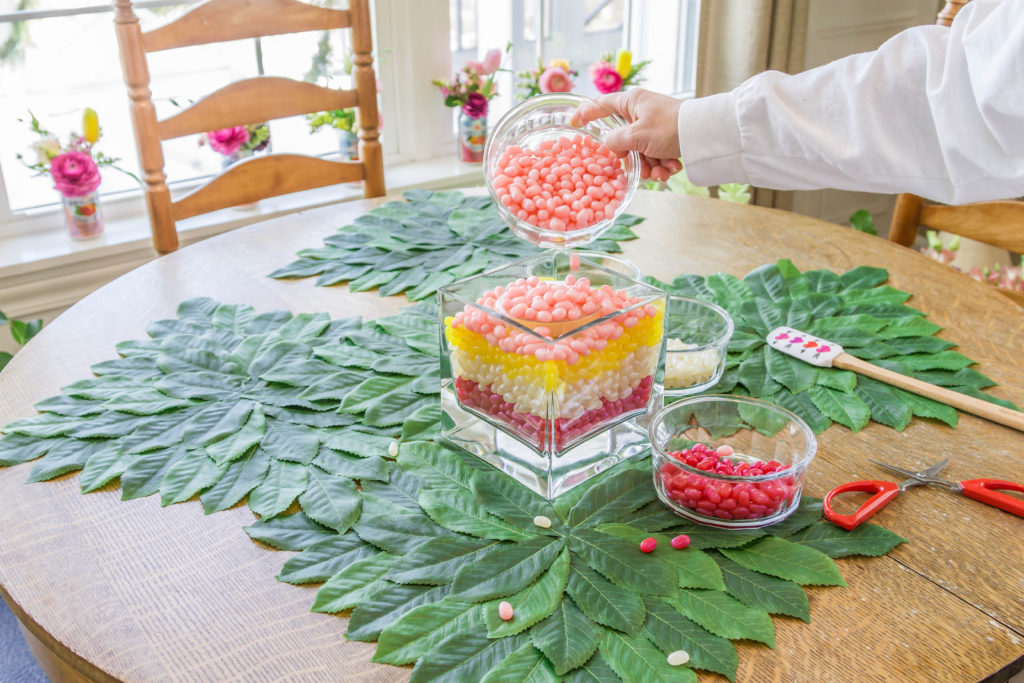
Once you tap down all the Jelly Bellies for the final time… you are now ready to remove your Press’n Seal.


NOW…
Carefully fill your inner vase with fresh water not spilling onto the jelly beans.

LET THE ARRANGING BEGIN…
You are now ready to start adding your flowers. I started with tulips and ranunculus. I tried to use a mix of bright and pastel colors that compliment the Jelly Bellies.
All my flowers are from Petal Driven. They specialize in high-end fresh cut flowers. They have over 5,000 varieties that are shipped directly to your doorstep at amazing prices. If you are looking for flowers for a special event, or just a bouquet to brighten your day Petal Driven is your source. They sent me a breathtaking selection and everything arrived perfectly!!


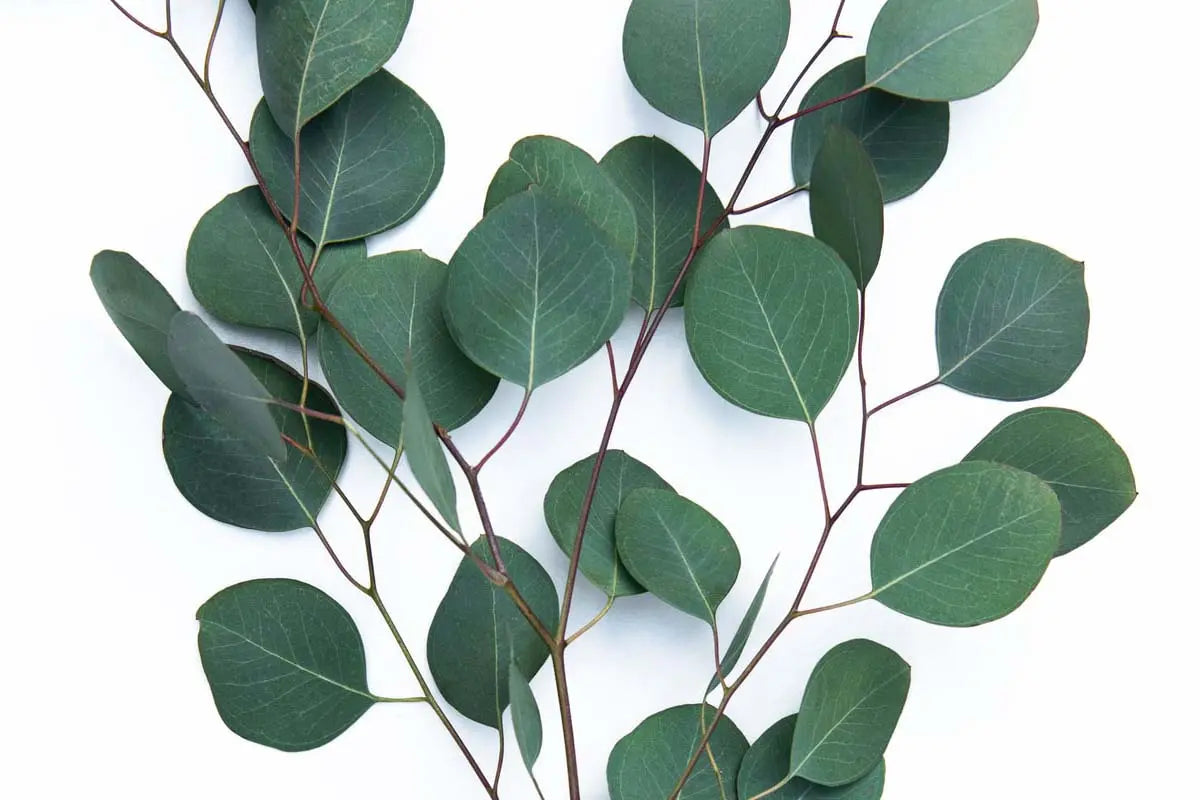
Remember to cut all your stems at least 1 – 2 inches at a diagonal to give your stems a good way to take in water. Remove all leaves that will be below the water level to protect from bacteria growth in your water.
You may need to cut the stems shorter depending on where they are going in the arrangement. Eyeball the stem against the arrangement to give you an idea of the length you need. Always start shorter, it’s easy to cut more… but once too short you cannot go back.

I am including links to all the florals I used from Petal Driven. To help you create this look.

AREN’T THESE RANUNCULUS… RIDICULOUS!!
The colors almost hurt your eyes!! This is Petal Driven Ranunculus Cloony Mix. The colors are incredible ranging from vibrant to very soft pastels. The blooms are absolutely breathtaking!!


AT THIS POINT…
You are turning your vase looking at all sides to see where there are holes and gaps that need to be filled. I try to mound the ranunculus crisscrossing the stems to keep the blooms where I want them.


NEXT…
Solidago is a field flower bursting with yellow!! It’s a great flower to fill in all the gaps and add softness to your arrangement.

THIS IS ANOTHER FAVORITE OF MINE…
Lisianthus… This bloom makes my heart sing. It is breathtakingly beautiful with gorgeous blooms that almost look like a cup. The new bud that will bloom extend almost like tendrils…


I added 3 stems of this beauty to this arrangement…

MORE FILLERS…
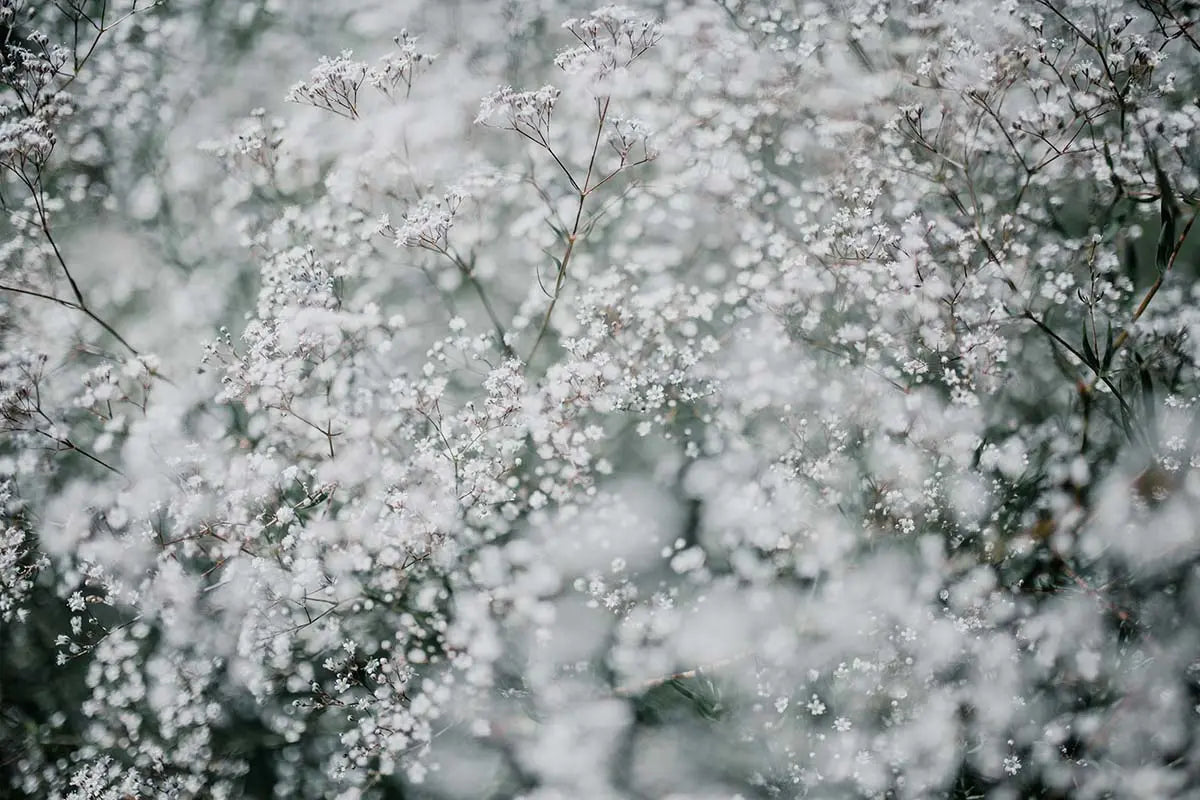
Next, I added a few stems of Waxflower to add some additional color and fullness.


FINALLY…
I added a few springs of Hypericum for a bit of softness. I just adore its gorgeous white berries!!


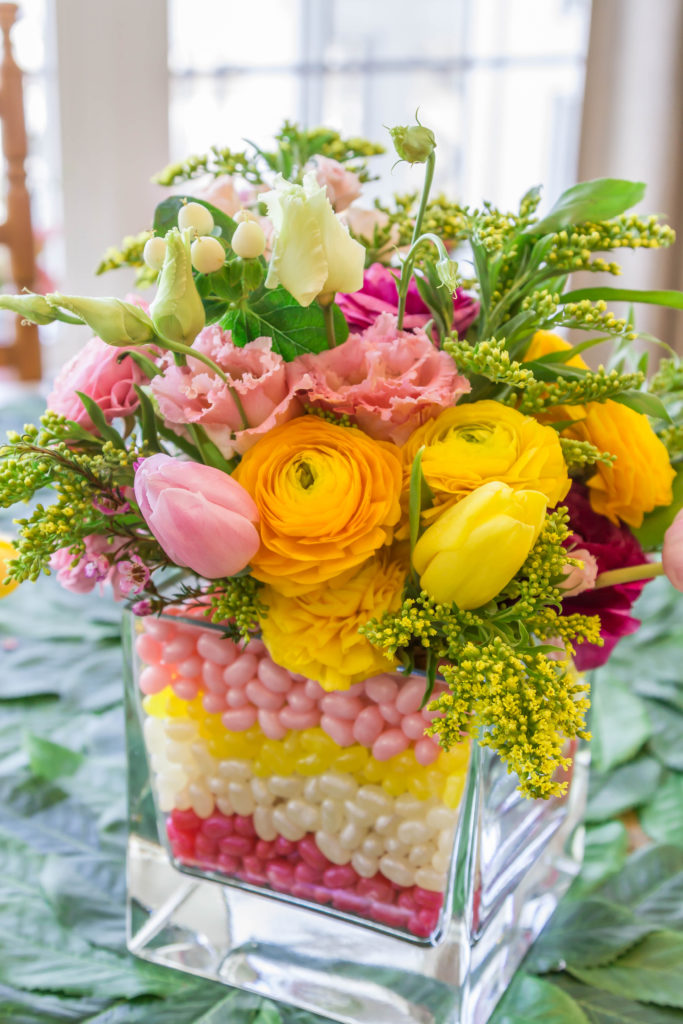
THERE YOU HAVE IT!!
A spectacular layered jelly bean floral arrangement!! Your guest will be WOW’ed by this breathtaking arrangement!!

My sweet friends over Petal Driven have been so generous and have given me a special coupon code to use for my followers!! It’s good for 10% off any order and free shipping on anything from their website. The code is Grace10FreeShip!! So what are you waiting for… the link is below!! Free shipping for fresh cut flowers to your door!! Don’t make me come over and help you shop!! ?
You can read more amazing Floral Designs & DIY projects by Mary Ann by visiting her website: http://bit.ly/2G3qj5B


